
BuddhistCatholicContemplativeEvangelicalGeneral ChristianHinduJewishLatter-day SaintMuslimNew VisionsProgressive Christian
Beliefs
- Buddhist
- Catholic
- Contemplative
- Evangelical
- General Christian
- Hindu
- Jewish
- Latter-day Saint
- More Voices
- Muslim
- New Visions
- Pagan
- Progressive Christian
Topics
- Religion News
- Food and Religion
- Sports and Religion
- Religious Art
- Religious Music and Entertainment
- Religious Events
- History and Religion
- Style and Religion
- Politics and Religion
- Women in Religion
- Recreation Outdoors and Religion
- Business Finance and Religion
- Careers Workplace and Religion
- Education and Religion
- Family Parenting and Religion
- Health Fitness and Religion
- Home and Religion
- Relationships and Religion
- Technology and Religion
- Travel and Religion
Columnists
- Buddhist Columnists
- Business Finance and Religion Columnists
- Careers Workplace and Religion Columnists
- Catholic Columnists
- Contemplative Columnists
- Education and Religion Columnists
- Evangelists Columnists
- Family Parenting and Religion Columnists
- General Christian Columnists
- Health Fitness and Religion Columnists
- Hindu Columnists
- History and Religion Columnists
- Home and Religion Columnists
- Jewish Columnists
- More Voices Columnists
- Latter Day Columnists
- Muslim Columnists
- New Visions Columnists
- Nonreligious Columnists
- Pagan Columnists
- Politics and Religion Columnists
- Progressive Columnists
- Recreation Outdoors and Religion Columnists
- Relationships and Religion Columnists
- Religion News Columnists
- Religious Art Columnists
- Religious Events Columnists
- Religious Music and Entertainment Columnists
- Sports and Religion Columnists
- Style and Religion Columnists
- Technology and Religion Columnists
- Travel and Religion Columnists
- Women in Religion Columnists
Resource Library
- 2026 Calendar
- Library of World Religions
- The 100 Most Holy Places on Earth
- Patheos Answers
- Podcasts
- Videos
- Faith Leaders Database
- Anglican Episcopalian
- Bahai
- Baptist
- Buddhism
- Christianity
- Confucianism
- Eastern Orthodoxy
- Hinduism
- Holiness and Pentecostal
- ISKCON
- Islam
- Judaism
- Lutheran
- Methodist
- The Church of Jesus Christ of Latter-day Saints
- New Age
- Paganism
- Presbytarian and Reformed
- Protestantism
- Religion Behind the Scenes
- Roman Catholic
- Scientology
- Shia Islam
- Sikhism
- Sufism
- Sunni Islam
- Taoism
- Zen
- See all religions
Research Tools
 Ad-Free & Subscriber Log-In Subscription Support
Follow Patheos 

- Trending:
- Forgiveness
- |
- Marriage
- |
- Consciousness
- |
- Death Penalty
- |
- Election
- |
- Halloween
 Tinsel
- Home
- Religious Music & Entertainment
- How I Make Artisan Sourdough Bread Rounds Using the Bread Machine (With Photos)
How I Make Artisan Sourdough Bread Rounds Using the Bread Machine (With Photos)
Last updated on: February 12, 2014 at 12:29 pm by Rebecca Cusey
How I Make Artisan Sourdough Bread Rounds Using the Bread Machine (With Photos) 2014-02-10T12:31:56-06:00 Rebecca Cusey
Patheos Explore the world's faith through different perspectives on religion and spirituality! Patheos has the views of the prevalent religions and spiritualities of the world.
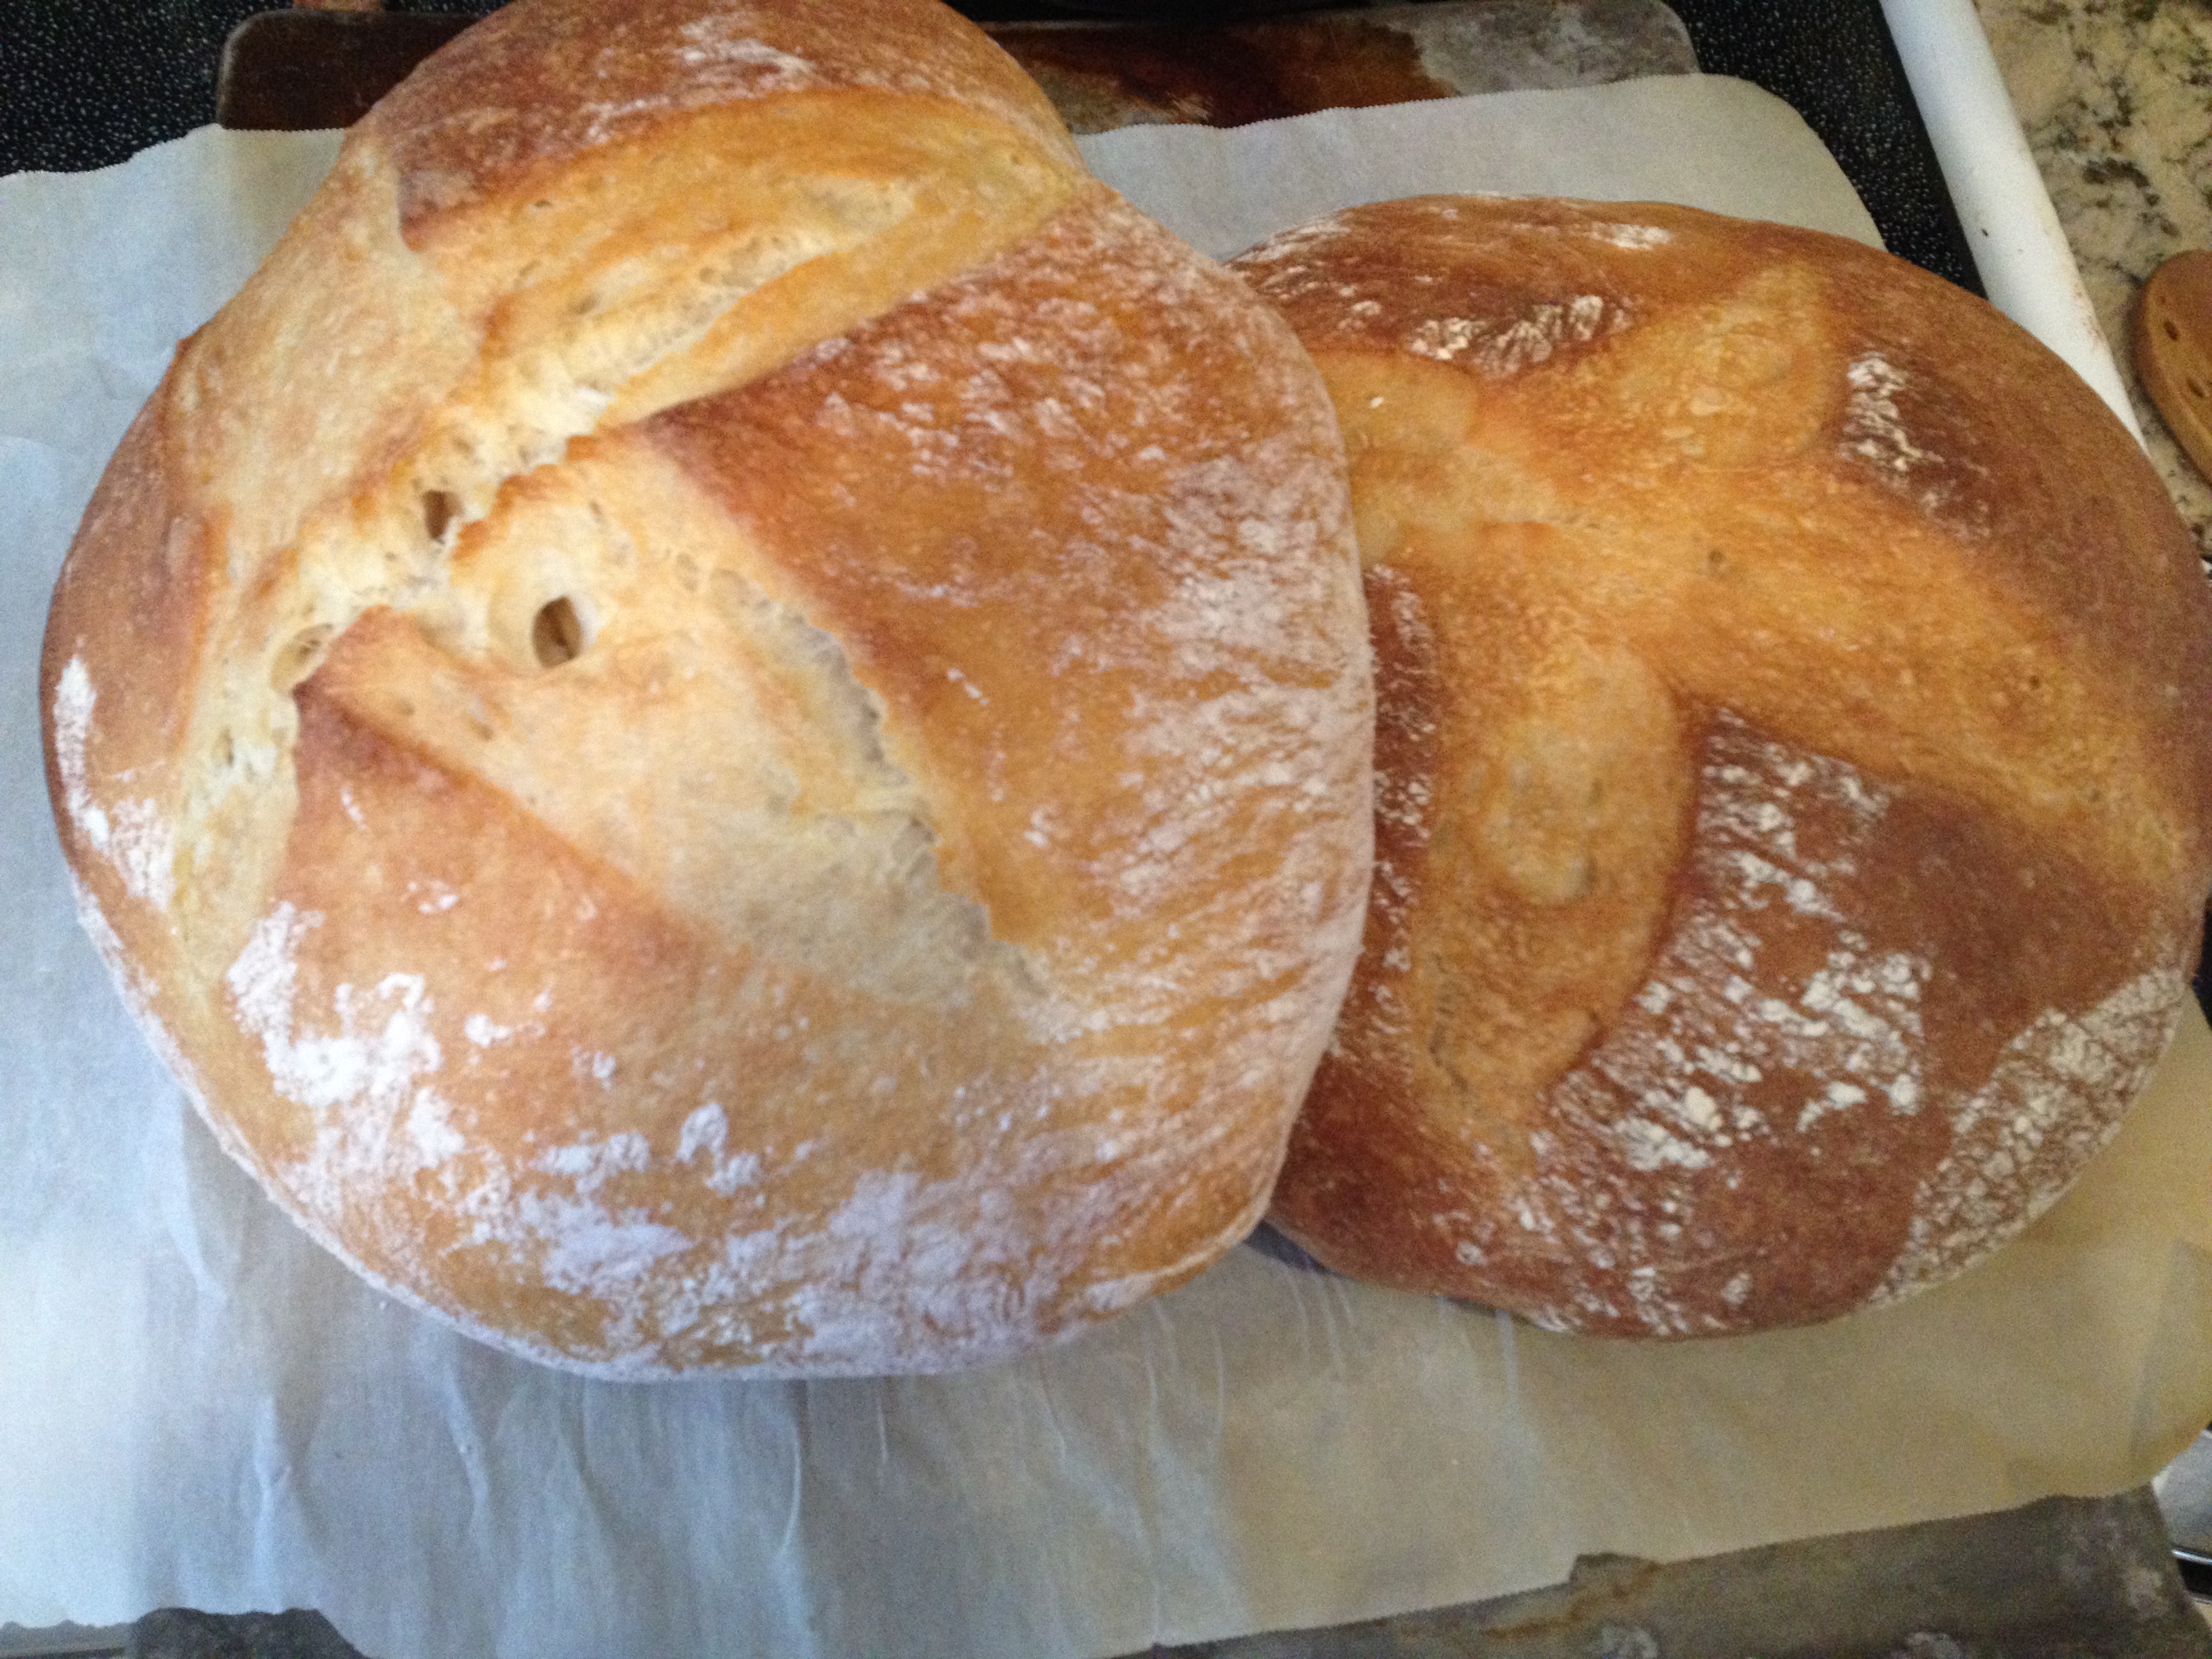
I can now cross off “learn to make perfect sourdough bread” off my bucket list. These crusty loaves don’t last long in my family and I love to take them to potluck where they have a big wow factor. Sometimes I even tweet along when I make them, using the hashtag #LiveTweetBread (my Twitter handle is @Rebecca_Cusey).
I’ll try to tell you in perfect detail what I do. But a few notes before I begin.
1) This technique USES the bread machine, but not only the bread machine. In other words, if you want to put some ingredients in and come back in a few hours for a perfect loaf, this isn’t it. It’s not hard. The machine does the hard stuff for you, but it does take some effort outside the machine. This makes artisan style loaves that you would pay big money for at a bakery.
2) It takes about five hours. You have to start it in the morning to have bread at night. It’s mostly just waiting, so it’s not a working five hours. Your effort takes about 20 minutes. But the waiting takes a while. The times are flexible, which is nice. I often leave and come home before doing the next step.
Here are the instructions:
Part One – Making the Starter
I came across this starter by happy accident. It’s basically the Two Week Biga from the wonderful book The Bread Lover’s Bread Machine Cookbook by Beth Hensperger.
But one day I started to make the biga and went downstairs to watch TV. I fell asleep. Sometimes that happens, you know?
I staggered up to bed without remembering to refrigerate the biga. When I finally went to clean it out a few days later, it had such a wonderful, sour aroma that I just let it sit. And that’s how my starter was born.
Here’s the recipe: Put 1 2/3 cup warm water, 1/2 teaspoon yeast, and 3 3/4 unbleached all purpose flour in your bread machine. Set it on the dough cycle, push start. Immediately set a timer for 10 minutes. When the time beeps, turn off the bread machine, unplug it, and let it sit. Let it sit for three to five days at room temperature. It will bubble and ferment. When it has developed enough of a sour smell for you, put it in a plastic container and store in the refrigerator.
It will have developed a watery substance on the top. This is called the “hooch” and you just mix it right back in.
This starter will last for two weeks or so in the refrigerator and make three or so batches of bread. They say you can freeze it but I’ve never tried. Bring it to room temperature before using.
Here’s the key: On your last batch of bread, save whatever starter is left over. For me, it usually ends up being a half a cup or so. Make the starter recipe again, but throw in the left over starter. It will give the new starter batch that sour flavor. No need to let it sit for days. I usually let it sit for 12 hours or so and then it’s ready to use.
Part Two: Making the Bread
I developed this by trial and error, but it works wonderfully for me.
Ingredients:
1 cup starter (see above)
1 1/2 cup warm water
51/2 cups bread flour, divided
1 tablespoon sugar
2 1/4 teaspoons salt
Step 1 – Making a Sponge
 Mix 1 cup starter, 1 1/2 cups warm water and 3 cups flour in the bread machine.
Mix for 10 minutes, stop the mixer, and let rise for 2 hours.
Notice that we only use 3 cups flour here, not the entire amount. It will be very wet, like the picture at left. As it rises, it will bubble and smell amazing. Let it do that work.
Step 2 – Mixing and Kneading
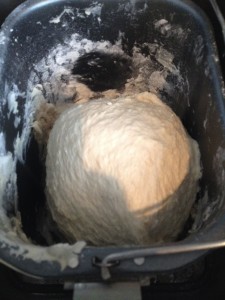 When the time is up, add the sugar, salt, and 2 1/2 cups flour to the bread machine pan. Set the machine to “dough” and turn on.
You’ll need to watch it a little at this point. Sometimes, depending on your starter and the conditions of your house, you might need to add just a little flour or water. If it’s too dry and having a hard time mixing, add water, just a tablespoon at a time. If it’s too wet and really sticking to the walls, add a few tablespoons of flour.
Once it gets to the kneading process, it should form a nice, smooth dough ball that feels sticky when you touch it but doesn’t leave any dough on your finger when you pull it away.
Let it go through the kneading. When it’s done kneading (about 30 minutes on most machines), turn off the bread machine.
Step 3 – First Rise
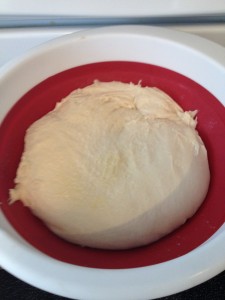
Place the dough ball in a bowl.
Let it rise until doubled, about two hours.
This is what I do. I put a measuring cup with about three to four cups of water in the microwave and heat for five minutes or so. I then put the bowl with the dough in the microwave next to the cup with the hot water. Do NOT turn the microwave on. Just let it sit in there for two hours. The hot water gives enough heat to really get the dough rising. Plus, it’s out of the way and protected from drafts.
Step 4 – Shaping
 The dough has now risen.
In addition, usually, my dough has a bit of a thicker, dryer crust on top.
It’s time to shape the dough.
Put a light layer of flour on a hard, smooth surface. I use my granite countertops.
Turn the dough onto the flour, top down. That thicker, drier crust should be down and the wetter stuff that was on the bottom should be up. Sometimes I have to use my fingers to ease the dough out of the bowl. It sticks. This is fine.
That thicker, drier, crustier part? It will be the surface of the loaves you make and when you slice it, it will make lovely brown crisp crusty parts. So keep it down and as you cut the dough into pieces, remember where that crusty part is.
 This is what the dough looks like turned out.
Next, make sure you have flour on your hands. Take something with an edge, I use a metal spatula, but there are tools made just for separating bread. Dust it with flour. Then press down, almost like a knife, dividing the dough into two.
 These will be your two loaves.
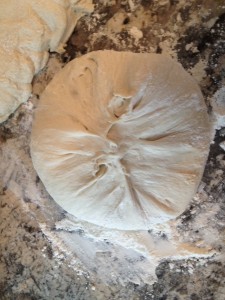
Next you want to shape the dough into rounds.
Remember that crusty part? Keep that down so it will be the top of your round loaf. Just pull the edges toward the center and pinch them together until it’s shaped like a round. No need to pick it up or shape it like a ball. Just pull the edges in over the top and pinch.
The pinched part will be the bottom of your crust.
Have a piece of parchment paper ready for each loaf. I always use parchment paper. It’s like magic.
Step 5
 Next, flip the dough over so the crusty part is on top.
Place on the parchment paper. Put the parchment paper on a cookie sheet for support.
Let rise another hour.
I heat up more water, and put the two loaves back in the microwave. I use cups with hot water to stack the cookie sheets so two loaves can fit in there. It’s very hodgepodge, but it works.
When you put the dough in to rise, turn the oven on to 425 to preheat. Make sure your baking stone is in there, on a rack set in the middle. The baking stone needs a long time to heat up, so an hour during the rise is perfect. Obviously, this works better in the winter than in the summer.
Honestly, the rounds don’t usually rise that much for me. Maybe just a little bit. They might increase by half. They don’t double. But they will when they bake.
Step 6 – Baking
 Before you bake, cut a deepish slash in the top of the bread, through that crusty part that developed in the first rise. I usually do a cross, but you could do side by side or whatever.
Now you’re ready to bake.
Using the cookie sheets, slide the parchment paper with the dough directly onto the preheated baking stone. Do not put the cookie sheet in the oven. It’s just to help you get the dough on the stone.
I can fit both loaves on my stone, but if yours is smaller, you can do one at a time.
Now, these breads need humidity to really develop a good crust. What I do is throw five or so ice cubes in, right onto the bottom of the oven, immediately after I put the dough on the stone. They sizzle on the metal bottom of the oven and create steam. I shut the door and let it bake. Obviously, don’t do this if you have a heating element exposed on the bottom of your oven. It might break. Alternately, you could have a cookie sheet on a lower rack in the oven that is preheated. You could just thrown ice cubes onto it.
Bake for 20-25 minutes until the crust looks amazing and brown.
Enjoy!
Previous Post

February 11, 2014
Biopic of Mother Teresa Coming to Big Screen
Next Post

February 12, 2014 Giveaway: 'Grace Unplugged' DVD and Soundtrack
Browse Our Archives
Select a Category Becky's Picks Children's Movies DVD releases Entertainment News Faith on Film Featured Hunger Games In Theaters Interviews Life, Etc. Mixed Nuts Movie Reviews Poliflix Scroogewatch slider Television Uncategorized
Select a Month December 2014 November 2014 October 2014 September 2014 August 2014 July 2014 June 2014 May 2014 April 2014 March 2014 February 2014 January 2014 December 2013 November 2013 October 2013 September 2013 August 2013 July 2013 June 2013 May 2013 April 2013 March 2013 February 2013 January 2013 December 2012 November 2012 October 2012 September 2012 August 2012 July 2012 June 2012 May 2012 April 2012 March 2012 February 2012 January 2012 December 2011 November 2011 October 2011 September 2011 August 2011 July 2011 June 2011 April 2011 March 2011
Follow Us!
TAKE THE
Religious Wisdom Quiz
How did Jesus respond when accused of eating with sinners?
Select your answer to see how you score.
"I am hungry" "I came to call sinners to repentance" "Don't call me teacher" "I have no friends"
Related posts from Tinsel

Book Discussion: 'How the West Really Lost God'...

The Caged Bird is Free: Remembering the Life...

The Horrible, Awful Story of How My Children...
My DIY - Fun Instagram Type Photo Canvases...
TRENDING AT PATHEOS Religious Music & Entertainment
Public Executions and the Pirate Curse of Nix's...
There lies in Boston’s harbor an eroding island called Nix’s Mate. In...

Reformation as Always Going Back
"The Reformation was not a re-forming of the church into something new,"...

John Wesley on Social Holiness
It was John Wesley's great virtue that he believe spiritual and social...

You Did Your Best. Why Are You Still...
You close the laptop after submitting an application. You have checked the...

What Does Hôd Mean For Netanyahu & King...
The big news this week has been the Israeli elections and who...

How to See a Demon According to The...
The Talmud teaches us many things, including how to see a demon....
view all Religious Music & Entertainment blogs
Ad-Free & Subscriber Log-In Subscription Support
- About Us
- 2026 Calendar
- Videos
- Podcasts
- Library of World Religions
- Faith In Media Tracker
- Advertise With Us
- Write for Us
- Privacy Policy
- Terms of Service
- Do Not Sell My Data
- Contact Us
- Radiant Digital
- Manage Newsletter Subscriptions
- Unsubscribe From Notifications
- Sitemap
Copyright 2008-2026, Patheos. All rights reserved.
Subscription Support Ad-Free & Subscriber Log-In
Follow Patheos